
Hello friends! Today seems like Monday to me because I spent the last two days sick at home – but I am thankful that it is indeed Wednesday and that this week is half over. I have a very simple and fun DIY to share with you today, aren’t you excited?! This is seriously one of the easiest things I’ve ever done and it would be great to have a few on hand for those friends you aren’t expecting to receive a Christmas gift from but – surprise! you do – and you need a gift for in return.
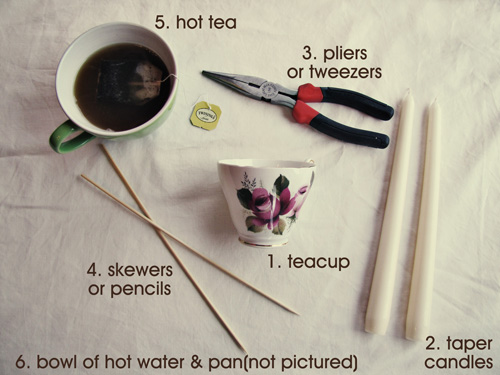
What you’ll need:
1. Teacup or coffee mug
2. 2 taper candles for one candle(if you have some partially burned ones lying around, those will work too)
3. Pliers or tweezers
4. 2 skewers or pencils
5. Hot tea(this is just for you because it’s delicious, it has no real purpose in this tutorial)
6. Bowl of hot water and pan
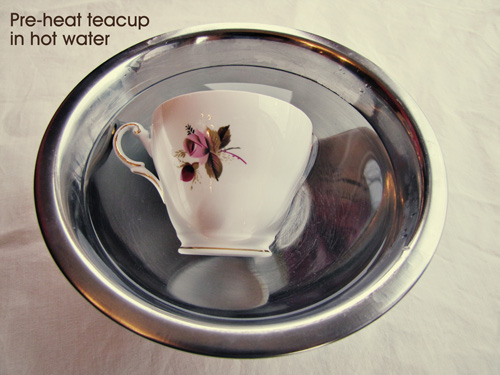
Step 1: Pre-heat your teacup in a bowl of hot water. This might not be completely necessary but I did it just to be safe since we will be pouring hot wax into it. Dry thoroughly afterward.
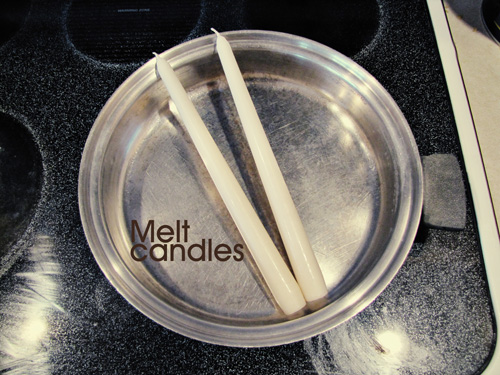
Step 2: Melt both candles on high, make sure you watch them closely so they don’t burn – they will melt F.A.S.T.
Step 3: Remove the wicks with pliers(you will only be using one)
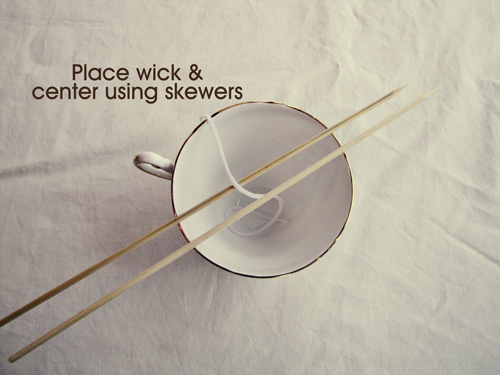
Step 4: Place the wick in the center of the teacup and hold there with skewers or pencils

Step 5: Pour the hot melted wax into the teacup – be very careful, the cup will be hot – I burned myself. It hurt.
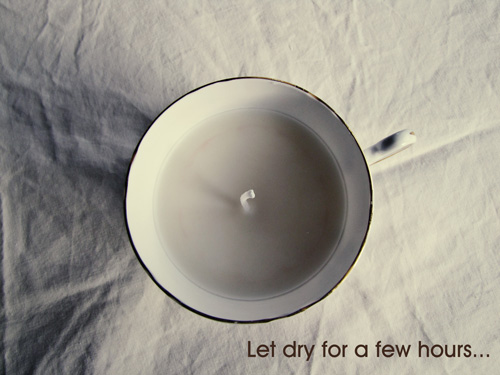
Step 6: Let dry…
Step 7: Cut wick down, you will have plenty of excess on top if you used a new candle to start.
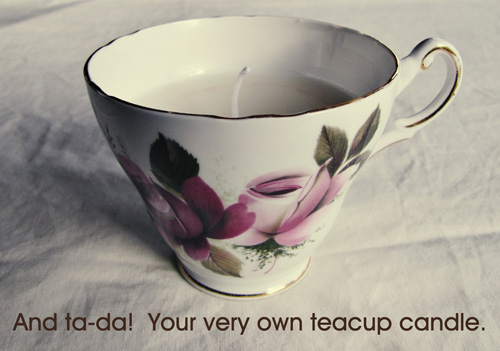
See, wasn’t that super easy?? You’re welcome.
Love,
![]()


Kaylee
Dec 15, 2010 -
I knew there was a reason I kept you around… :)
P.S. I’m glad you’re feeling better.
P.S.S. I liked number 5. :)
Stephanie
Dec 15, 2010 -
This is great Storm!! One question – do you need a wick weight thing? What happens as the wick burns down, if it is kind of curled like that? I have some vintage cannisters that I want to try this with, but I’m wondering if I should try cutting the wick down because they aren’t very tall….:)
stormie
Dec 15, 2010 -
I am definitely no expert – this was my first one:) I don’t think you NEED to have a weight on the wick, it definitely couldn’t hurt – I actually pulled my wick out a little further post-photo so it wasn’t so coiled at the bottom. And I added a step #7 because I forgot to mention that you have to cut off the excess wick after it dries:) We’ll see though, I may find that a weight is necessary! :)
j
Dec 15, 2010 -
bravo! i have seen where you can melt parafin into a container and place a small votive in the center, too. wonder if a small metal metal button would work is a wick-weight???
Tara
Dec 15, 2010 -
Like the idea.
Becca
Dec 16, 2010 -
Such a cute idea! Love it!
Matilda
Dec 20, 2010 -
I will totally use this as a last minute christmas gift! Thank you.
10 DIY Tutorials To Make Teacup Candles | Shelterness
Oct 28, 2011 -
[…] Sources: weddingchicks, theblushingbrides, designsponge, marthastewart, prudentbaby, elizabethannedesigns, georgicapond, gavethat, baysidebride, maydae. […]
25 Homemade Gift Ideas for the Martha Challenged | Dump Your Frump
Nov 28, 2011 -
[…] 15.) Teacup Candle: This reminds me of something you’d find in Anthropologie at a fraction of the cost. You can often find cute teacups at second hand stores like Goodwill. The easiest tutorial I’ve found is here at Maedae. […]
Christmas Gifts [DIY] « Pomegranate Seeds
Dec 5, 2011 -
[…] Tea cup candles […]
MayDae » Happy Birthday to my Sister and Dear Friend.:: Fashion, Design, Decor
Apr 15, 2012 -
[…] TEACUP CANDLES. These handmade candles are such a cute gift […]
Crichlow
Jul 23, 2012 -
Great tutorial. I would like to introduce you to http://www.crichlow1979.com we make organic, soy vintage inspired teacup candles.
crystal
Dec 7, 2013 -
I want to make this for my mother-in-law and I don’t have soy wax, I just have normal candle wax. Would this be okay within the tea cup?
Joan D’Arcy
Dec 23, 2013 -
Why do my candles sink in the centre? Any clues?
Prakarya: Ide Cerdas untuk Lilin Unik | Plasa MSN Aquila Style : Aquila Style | Kanal Gaya Hidup PlasaMSN
Feb 7, 2014 -
[…] Sumber: MayDae […]